Step-by-Step Guide
1. Access the Annotation Tool
Description:
Begin by navigating to the task where you want to leave feedback and open the annotation editor.
Instructions:
- Open the website project from your Atarim Dashboard.
- Click on an existing task or create a new one.
- In the Task Popover, locate the Annotation Icon in the comment input area.
- Click the Annotation Icon to initiate the tool.
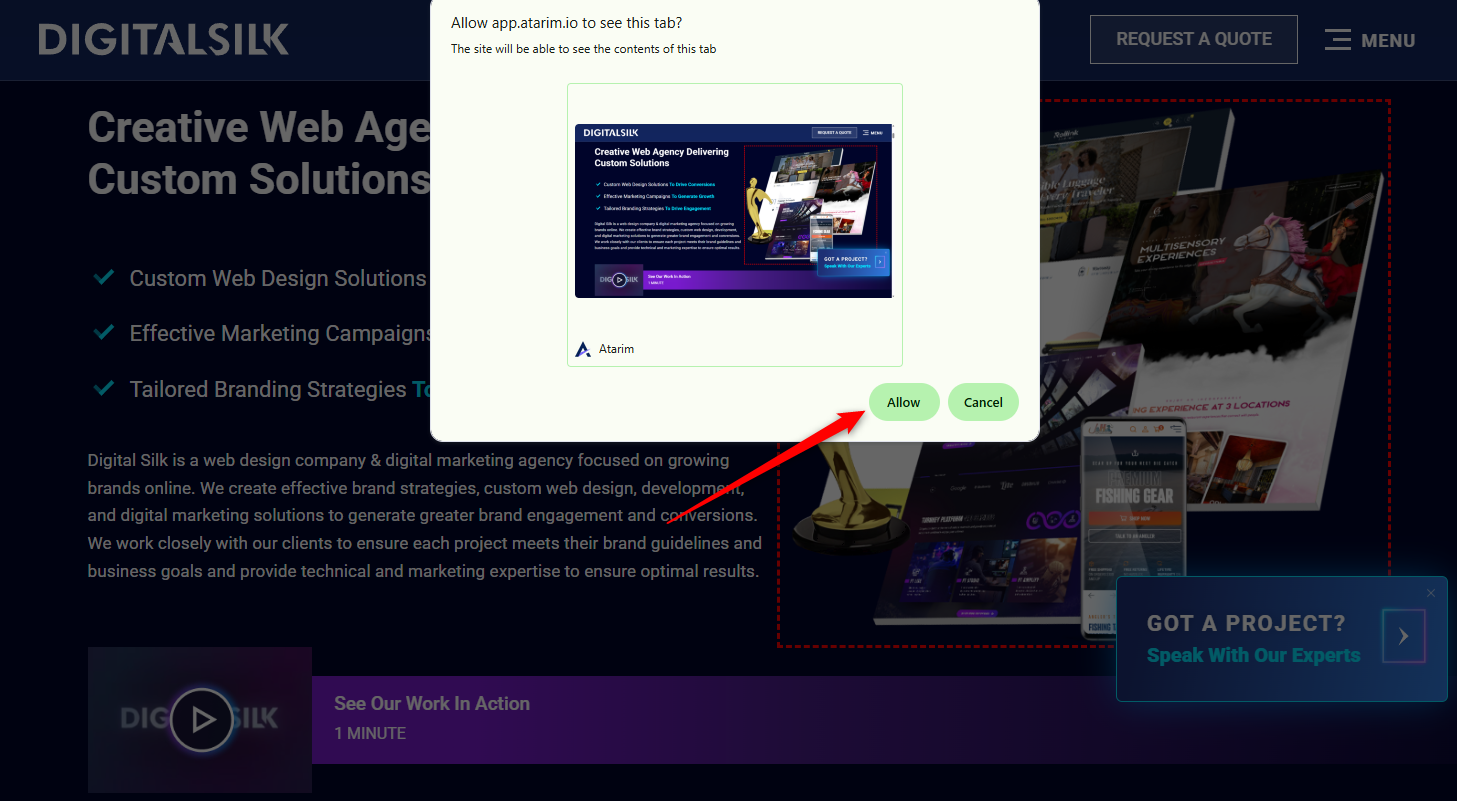
- Click Allow to grant app.atarim.io permission to view this tab and proceed with the process.
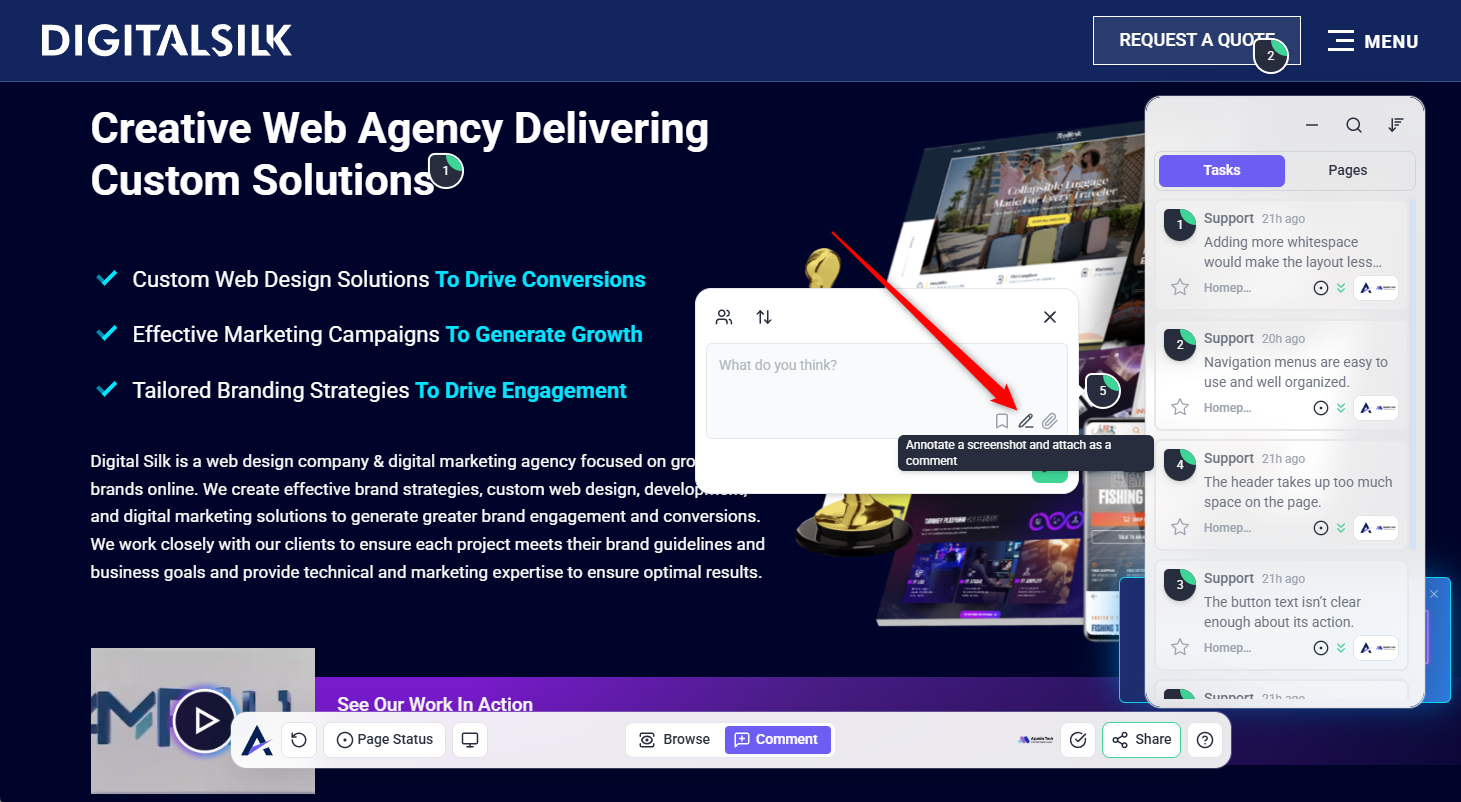
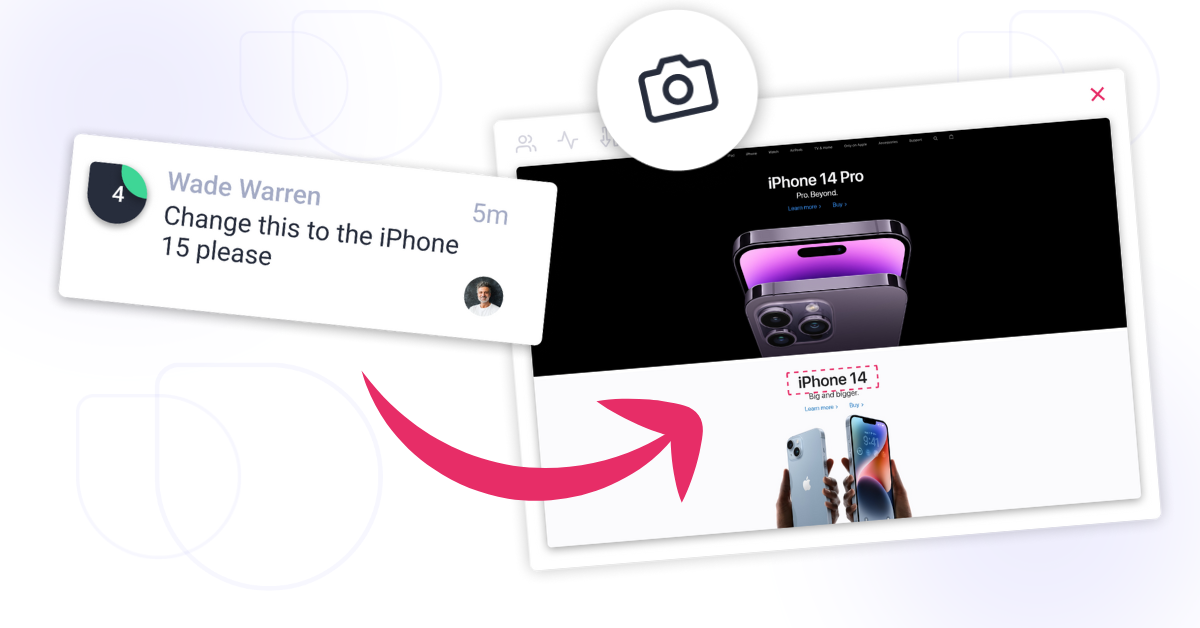
Recommendation: Encourage your team to use annotations to clearly highlight specific updates, especially when working with images.
2. Capture a Screenshot
Description:
The system will capture a screenshot of your current viewport, which you’ll then annotate.
Instructions:
- Click Allow to grant app.atarim.io permission to view this tab and proceed with the process.
- The system captures the current screen view and loads it in the Annotation Editor.
Tip: Before submitting, take a moment to scroll through the page and reposition it if necessary to ensure everything looks correct and is properly aligned. This helps avoid any errors or misplacements when your submission is processed.
Note: With the Chrome Extension enabled, you don’t need to allow access manually—it will automatically capture the current screen view and load it in the Annotation Editor.
3. Annotate the Screenshot
Description:
Highlight areas visually and add written feedback directly to the image.
Instructions:
- Select one of the following tools:
- Circle – Highlight small elements like buttons.
- Square – Call out larger areas like sections or content blocks.
- Arrow – Direct attention to specific elements or issues.
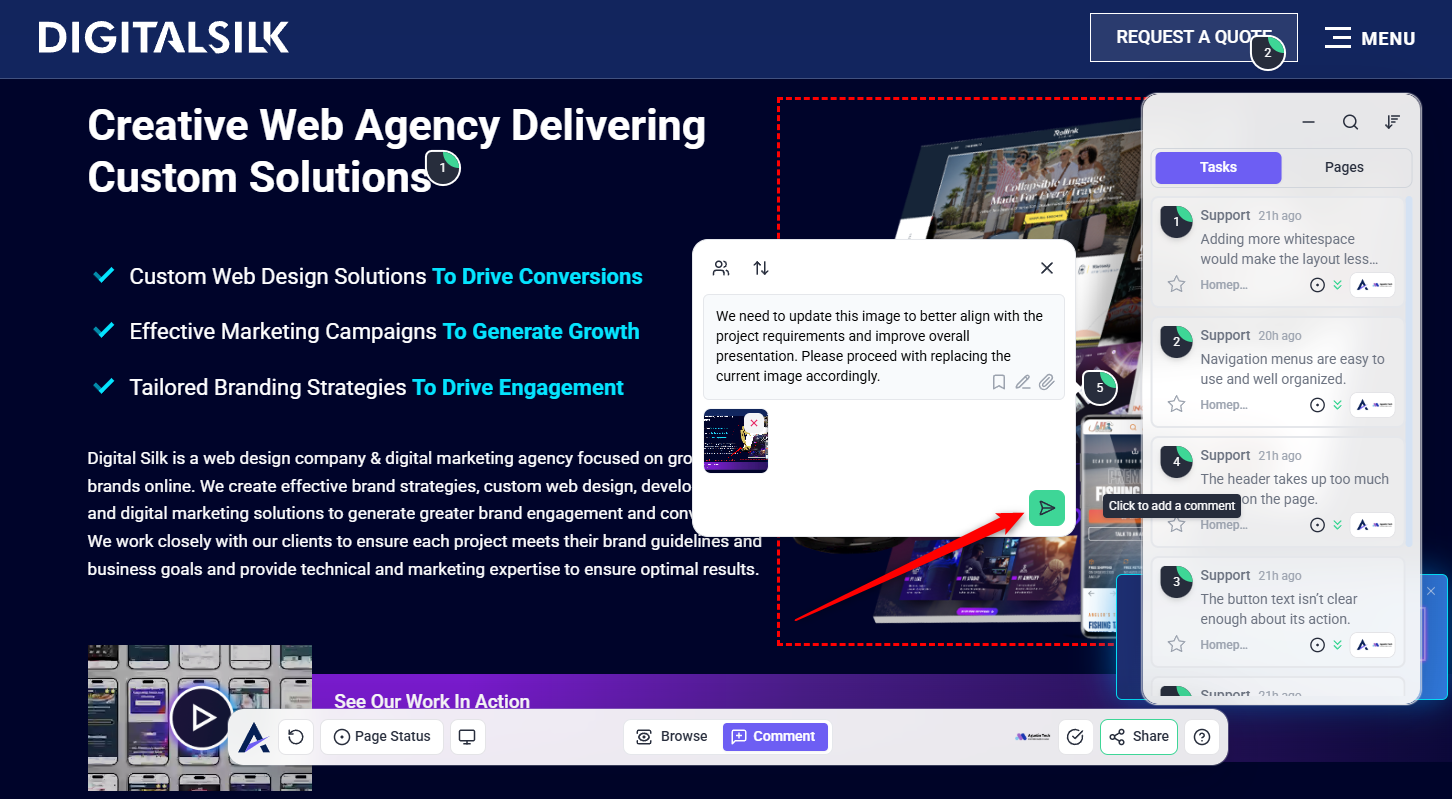
- Use the comment tool to write notes directly on the screenshot.
- Adjust placement as needed for clarity.


Tip: Try combining arrows and comments in your documentation or feedback. Using arrows helps visually direct attention to specific areas, while comments provide clear explanations and instructions.
4. Publish Your Annotation
Description:
Once your screenshot is marked up, save it as a task comment for your team to see and act on.
Instructions:
- Review your annotations.
- Click Publish or the Submit Arrow to save your screenshot as a comment.
- Your annotated image will appear in the task thread, visible to all collaborators.
Note: Once published, team members can reply directly to the annotation within the task discussion.
FAQs
Currently, annotations are only supported for web based projects.
Annotation is available in both Extension and URL based method.
Once published, the annotated screenshot is added to the task as an image comment for all collaborators to view.